If you missed yesterdays post, start there! It'll make more sense ;)
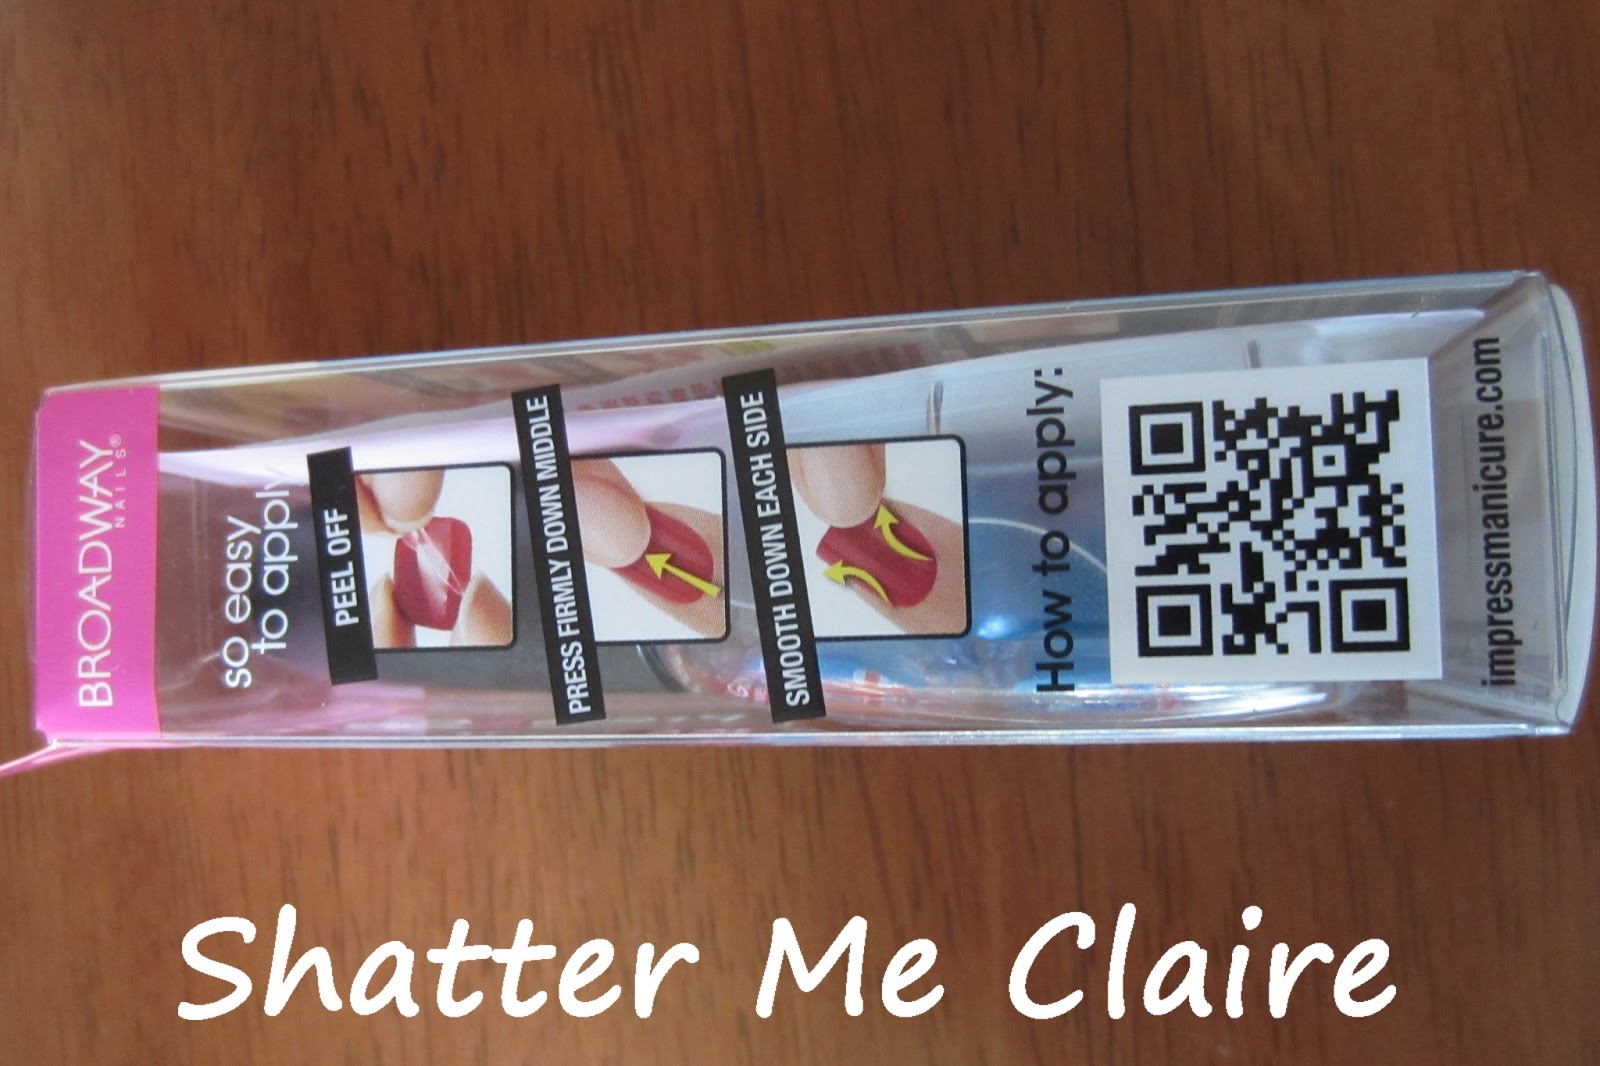
Today I'm just testing out some false nails to see how it goes on my injured nail. These are from the brand Elegant Touch and I found these in Priceline for under $10. I know a lot come with nail glue but as glue will mean I'll need remover, so I went looking for ones that just used those soft adhesive patches that just peel off.

It's been a long time since I picked out some false nails so I was surprised how pretty these actually were.

Elegant Touch seems to be a brand from the UK but I was really taken by their designs. These are pretty peacock feathers! We've come a long way from the standard colour falsies I remember of the mid 90s. I actually can't believe I found it hard to make a decision on which packet to get!

The pack consists of 24 nails, adhesive tabs, the instruction leaflet
and a buffer. Very easy to apply. Find which nail works best on each
finger, peel off each side off the adhesive tab and press the nail on
top, break the little tab off and file smooth. Voila! Really easy and if you are in a rush these would be ideal!

The
packaging claims that it could last up to a week but I think unless you
are super careful that they would catch before then. As always my
pointer finger isn't quite the right shape so I have ended up with a gap
that I found myself picking at. They still lasted 24 hours while doing all housework and cleaning!

Pros - They are very easy and quick to apply. The hardest part is selecting the right nail for each finger! Also they are really easy to remove. Biggest pro is the design! I mean look at how pretty this one is!! Well worth a look.
Cons - These apparently are the "short" nails and for me they are definitely anything by short. My nails are quite long at the moment and the only one peeking out is my little finger. Also if your nail doesn't shape to the plastic then you'll have gaps.
I'll be back tomorrow with another edition - please keep the comments coming with suggestions on other things to use! I'll be only doing this series til Monday but as my bite is not quite half way grown out I'll be back for round 2 soon!!