Showing posts with label silver. Show all posts

Tuesday, May 28, 2013

... Celestial Cosmetics - Part I ...


Time flies when you are having fun the days are all mushed into one big long continuous mess. This post has been a long time in the making and I apologise for that. Some of you may recognise these photos from Instagram last month. Hopefully my blogging mojo will reappear in full soon as I've missed it. I think I've only painted my nails once (and had someone else do them another time). I really do miss myself. Thank you to those who have been looking out for me.

Today I'm showing you some beautiful polishes from an Aussie Indie called Celestial Cosmetics. Honestly this is well worth a look. Australia is pushing out some fantastic Aussie Indies at the moment.

First up is Cosmic Ray. It's what happens when you combine a dark blue jelly with silver bar glitter and white flakes.
Anyone who knows me, knows that bar glitter and myself are not friends. Well I thought not until I met this. OMG I stand corrected. Honestly it blew me away on how much I truely enjoyed this polish. The blue is awesome but having those little glitter pieces shining through ... wow.

Next is Your so W-Earth it ... HA HA HA ... Love the pun!! This is one of those colours that likes to change depending on the sunlight. Sometimes it's more a pastel blue, sometimes its more of a light mint. Tricky! It's also chock full of green, blue and white glitters! They really compliment the base colour.

Mercury Rising is a pretty silver shimmer with a speckle of blue glitter throughout. I don't own anything like this and it was a real treat and it was something different to the rest of my collection. I totally love the shimmer and while I'm here I'll point out that even though there is a lot of little glitters, this was a breeze to remove! I was expecting to find little bits still on my nail days later! But no! Definitely a big plus.

The Pink Planet is a really pretty pink that is more towards red on the colour spectrum. It's packed full of holographic hex and little micro glitter. The world needs more pink! This was very easy on the eyes.

Martians have landed is such a me colour. Mmmmmm metallic! Look at that shine!! In the bottle it's more red but outdoors in full sun, its more purple. Either way I love it so much!  I really want to revisit this colour soon and make it matte!

Currently Nicki doesn't ship outside of Australia but I'm sure if you email and ask nicely something can be worked out [or I'm happy to be the middle man!]   I'll be back soon with Part II

Polishes were provided for review but all opinions, Aussie humour and dodgy photography are my own!

Friday, February 15, 2013

... 7 days 7 ways - Day 5 ... Striping Tape

So Day 5 has rolled around and it's a really quick one today for you. I've done an accent nail using striping tape today and like other nail art that I've struggled with again this was super quick and easy!! If you make a mistake it's one wipe and start again! Easy!!!
It's not perfect but it beats my previous designs of pulling up the base colour!

And how are the gels holding up ... well I have some lifting on my pinky edge from where my nail meets my skin and my pointer finger on my right hand has had some slight chipping after a hard day swiping on the iPhone but apart from that we are holding up really well!

Wednesday, February 13, 2013

... 7 days 7 ways - Day 3 ... Stamping

And my thorough test of these Luminail gels continues! Day 3 and today I'm rocking some fantastic stamping! There are still no chips on the mani and they are still looking great!
This is Gosh Holo stamped with the Pueen 05 plate. Again it's super easy if you make a boo-boo! Wipe and redo without having to retouch your base! Fantastic!!
Ooooooh ... holo goodness!! Phoar!!! Really simple but I'm loving how it came out.   I'm looking forward to seeing what I can pull out for tomorrow for a new look!

Sunday, January 20, 2013

.. Tip Top Nail Chic ...

Tip Top Nail Chic polishes
Available from Tip Top Nails

When I say South Africa what do you think of?? Personally I think of cricket! HA HA HA! With summer in full swing it's an perfectly acceptable Aussie response!

But how about South African nail polish??? I had no idea there were South African brands until these pretties arrived in the mail!!


These are from the company Tip Top [no not the bread place fellow Aussies! Good on ya mum!] and I've quite enjoyed playing with them. They are quick drying and they have a beautiful brush and they apply fantastically!!


The set came with the Tip Top Top and Base Coat - I found this really easy to use and while the top coat wasn't a fast dry, it still dried reasonably quickly!


Let's get too the colours ... This beautiful green is "We have An Green-Mint". I love amusing polish names. They make me smile.

I wasn't sold on this in the bottle but on the nails ... woah!! Loving it so much!!  The world needs more green polishes! The colour reminded me of Granny Smith Apples ... om nom nom nom!


The blue is called "Blue my Whistle" - there is a super pretty blue shimmer that appears in the bottle for this colour but I couldn't get it to replicate on my nails. Shame but it's still a super pretty blue.


Next time I need a sky blue I'm heading straight to this one! Stunning!


The orange is "Orange you lovely" ... and it's a gorgeous shade of orange. It's such a summer colour aswell!


These photos don't justify how vibrant and bright this shade is! You might need to locate your sunnies!


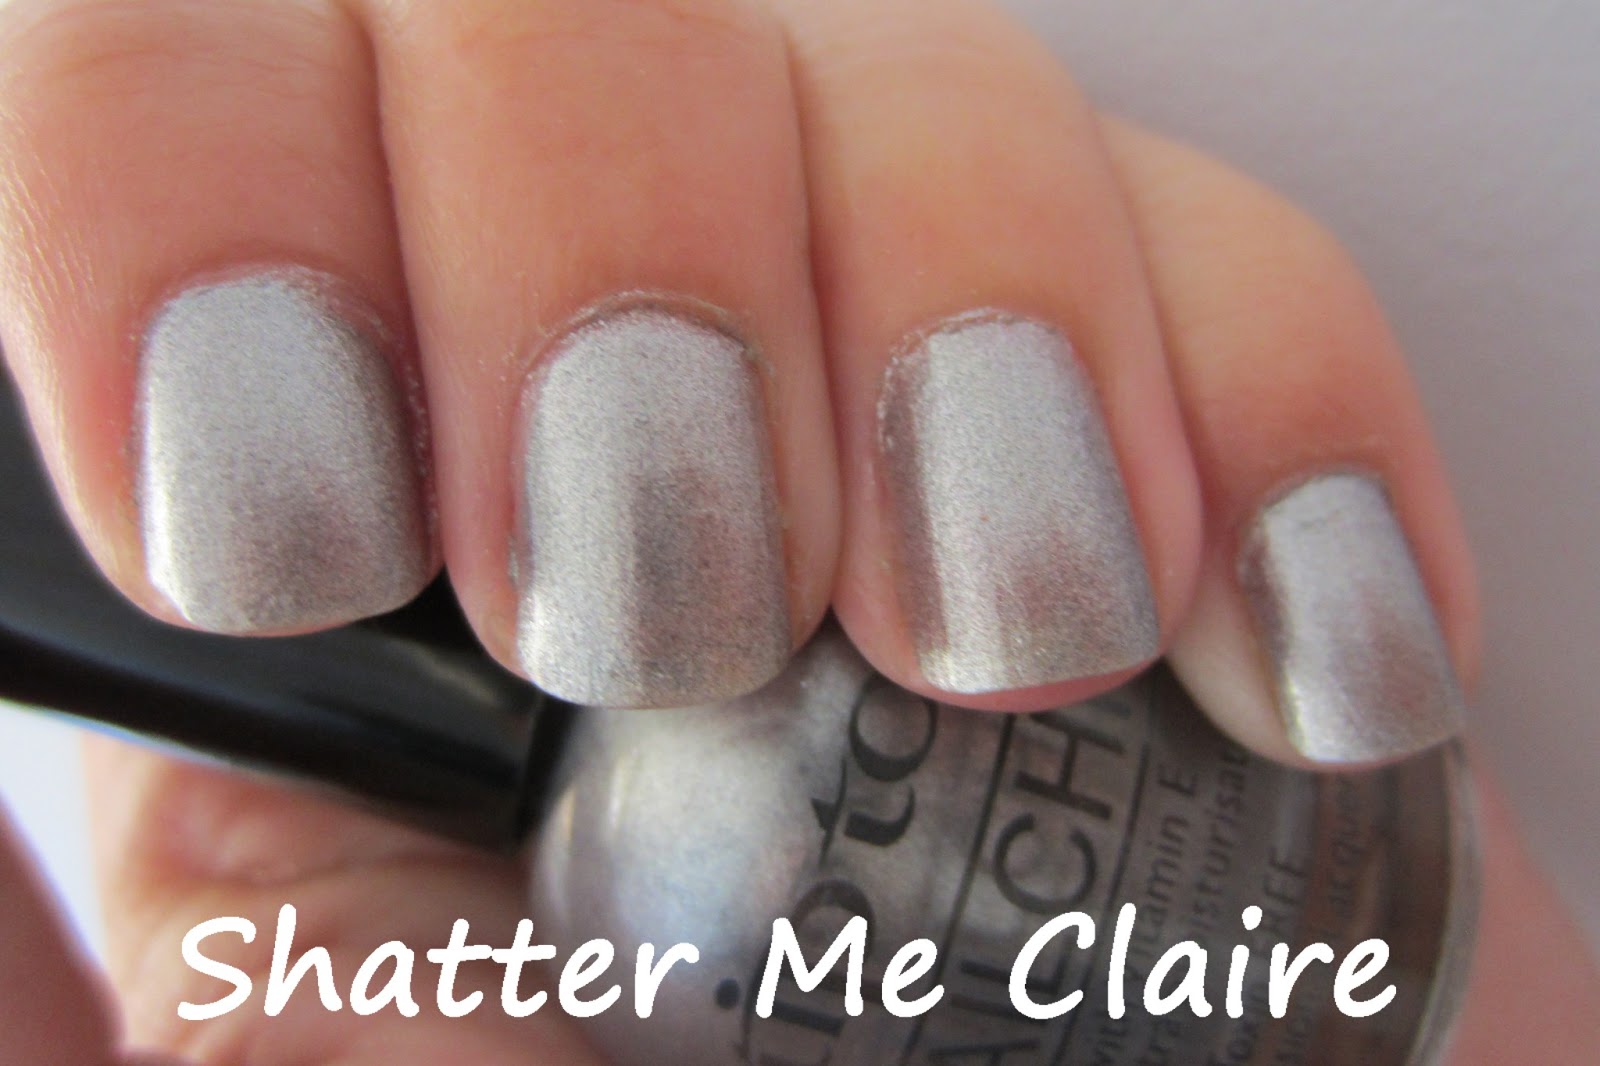
And finally this is Chiffon Squares which is a silver and contrasts the other 3 polishes nicely.


While it's not entirely opaque at 3 coats it's still a stunner and it still looks great by itself or as an accent nail for the other colours!


And I'll finish off with some assorted nail art!

Dotty Dotty Dot!

Big thick stripes!

Polishes were provided for review but all opinions, Aussie humour and dodgy photography are my own!

Tuesday, December 11, 2012

... Aussie Christmas Nail Challenge - Elf ...


By now I'm sure regular readers would have realised my sense of humour ... todays theme is "Elf" and while I could go for the traditional green and white colours - all I could think of in my head is this below.


SANTA!!!!! I KNOW HIM!!!!

So here are my Santa nails - really easy to do and I think they look ok considering it's been awhile since I've done any tape manis and I'm really in a lot of pain at the moment after visiting the dentist. Super sensitive teeth = ouch ouch ouch :(
Colours used are Butter London - Pillar Box Red, Ulta 3 - Lily White, Ulta3 - Black Satin and Gosh - Holographic Hero
I should have used a gold for the belt buckle but that's a lesson for next time!!

Monday, December 3, 2012

... Aussie Nails Monday - Glad Wrap ...

And Monday rolls around again ... I know I signed up for the Christmas challenge but I'm going to be picking and choosing either for clashing Mondays. I am not a blogger who can swatch and instantly take it off and redo ... I like to wear my efforts! :)

Anyway ... Today I've gone for ANM which is the Glad Wrap nails. Glad Wrap is the generic term in Australia for plastic wrap ... like how Saran Wrap seems to be the term in the US.

I've chosen to use Cult Nails Bitten from my last mani and see how it works with Gosh Holographic Hero.
I'm actually really pleased with how this turned out for a first try! Generally my first efforts on anything is an embarrassment!

If this look interests you I'd suggest hitting Google for some tutorials but I basically layered a coat of Holographic Hero over the top of Bitten and used a scrunched up ball of Glad Wrap to dab it to create this effect.
I lost most of the holo *sad* but if you squint you can see some appearing through. The rainbow lives on!!


** Other Aussie Nail Monday Blogs to Visit **

Wednesday, October 24, 2012

... FNUG comparison post ...

Bit of a quick comparison post for you today that I've been trying to put together for a few weeks.

I received my beautiful FNUG holos from Harlow & Co and I was asked about comparisons! So here goes ...


ALL SWATCHES ARE 3 COATS ON CLEAR SWATCH STICKS. NO BASE OR TOP COAT.

First up is the silver which is called Psychedelic and I've picked out 5 holo silvers to compare this with
Left to Right ... Gosh Holographic, FNUG Psychedlic, Gosh Holographic Hero, NfuOh 61 and Jade Psicodelica

I couldn't find my MUS holo which is disappointing but as you can see the FNUG is snug between the 2 versions of GOSH Holographic. Like GOSH and NfuOh you need to apply carefully or you will get drag and bald spots. Very beautiful though!! I've been told that the KOH silver holographic is more brighter but I don't have that polish *sad*

I don't have many green holographics *sad* I'm taking it as a sign I need more!!!  Fantastica slots in on the "Wheel of Holo" in between Glitter Gal Green [or Glossy Moss if you have the large bottle] and China Glaze L8R G8R
Left to Right ... Glitter Gal Green, FNUG Fantastica, China Glaze L8R G8R

The FNUG is definitely like it's silver brother and applies a lot more dense than polishes like Glitter Gal. While I don't have Ozotic green I do have the Chemistry equivalent as it's not as holo as the Glitter Gal so I haven't shown it here.
Left to Right ... Chemistry 515, Layla Ocean Rush, FNUG Futuristica, NfuOh 65

The FNUG is definitely the same shade as the NfuOh but with more holo and less patchy bald spots! The poor Layla just gets left behind ... awwww.

For all of these FNUG polishes you will need some sort of Aqua Base or there will be issues! You've been warned!!

I hope that helps people out. I'm happy to do more holo comparisons if I have them in my collection but I've picked out the few from the "ring of holo" which are the most similar in colour and holo rainbow!

Wednesday, August 22, 2012

... BYS Magnetic Mars and Magnetic Comet ...

BYS Magnetic Mars and Magnetic Comet
Available from Fashion Addict - $6.95 AUD
Howdy readers! The camera is back to normal, the swatching mojo is increasing now that winter is coming to an end and I'm back! I have these beauties to show off to you today. These are the new BYS Magnetics. I'm sure the overseas girls are looking at this and thinking "been there - done that" but the magnet scene has only just started here in Australia and I'm quite excited!!

The 2 pretties I have to show you today are Magnetic Mars [purple] and Magnetic Comet [silver] and I was rather impressed. Both were really easy to use with quick drying time!

Now apart from coming in cool designs like waves and stripes - I really like is the fact the magnets are on the lids! Hurrah!! No more buying magnets separately and then losing them before you get home. This is a great idea!
Magnetic Mars is a beautiful purple and I chose to use the diagonal stripe it came with. I had many compliments on this from the people I see in real life daily as it was so striking.

Now I really loved Magnetic Comet. It's so shiny! The magnetic effect didn't show as obvious as the Magnetic Mars but I loved it. It was like a hidden surprise! This came with the wave magnet but it's definitely one that you can play with to make different designs since 2 of my fingers just look like curved horizontal lines [which I like! It works great with the curve of your nail!]
** Final Verdict **
Simple and easy to use. Fast dry time and surprisingly none of the old school BYS smell that we have all become used too. I love that you don't have to purchase the magnet separately and you will never loose it! Well worth a look and won't break the budget!

Oh and I made a YouTube tutorial on this! Hope it helps to show you how easy it is to make these designs.


** These polishes were supplied for review **

Monday, June 11, 2012

... Butter London - Lillibet's Jubilee ...


Hey Howdy Hey Readers :)

I've had some well deserved time off lately and squeezed in a vacation so I'm back and ready for some loving! I'll hopefully have some vacation pics and nails for you soon!!

As you would have gathered from the giveaway in the last post - I've hit my first blogversary. I can't believe a year has passed so quickly. I have met so many extremely beautiful people over the past year and I thank you!  It has been a major learning curve and it's given me a creative outlet.

Butter London - Lillibet's Jubilee
Purchased from the Butter London website - $14 USD
[Aussies ... They don't ship here *sad* I had ask someone to ship it to me]


I recently got my hands on this beautiful Butter London that was named for the Queens Diamond Jubilee and with the Jubilee celebrations last week and it being the Queens Birthday public holiday here today this seems rather appropriate.
This is a beautiful purple and silver combo that makes a fantastic foil polish. It really does depend on how you look at this one to whether it shows silver or a light purple. The little glitter pieces sparkle even without direct sunlight and you could seriously get away with a single coat for it! Wow!!
And showing the purple ... which my camera hated to pic up. It is totally not like this in real life. Promise!!
** Final Verdict **
Pretty polish for a grand occasion. I definitely have no issues recommending this as it's exceptionally beautiful and the fact you could get away with a single coat is a plus for those days when you are rushing out the door with limited time on your hands.

I'll leave you with a picture that's doing the rounds of the Queen and the Duke of Edinburgh. How much of a stunner was she back in the day! Regardless of what your personal opinions of the Royal Family are - 60 years in the same job deserves some credit. Prince Philip just makes me laugh as he generally seems to blurt out what everyone is thinking. I'm sure when I'm his age I'd want to do that aswell!
[Anyone know where this pic originated? I'd love to give it some proper credit. I know it was featured in Vanity Fair but I'm unsure if they nabbed it from somewhere ... Ta!]

Sunday, April 22, 2012

... Face of Australia Barbados - You Blue Me Away ...

Face of Australia Barbados - You Blue Me Away
Available from selected stores such as Big W, Priceline and Kmart
Unlike the Sally Hansen polish with the similar name ... this is a blue metallic with silver shimmer polish and for some reason it keeps reminding me of the colour periwinkle. I'm not sure that's what I'd accurately describe it as but it keeps popping back into my mind.

As it's becoming a trend with this range - it's super fast drying and there were no unwanted lumps or bumps. I found the silver shimmer in this so friendly towards any ridges or imperfections in your nails. It just covered that right up! It also dried super smooth and I found it quite sturdy against those housework jobs without resorting to chipping. I'll be trying this one next time I head to the chlorine infested pool to see if it'll survive the ultimate test.
** Final Verdict **
I can see this polish being one of my favourites in the future. It's a beautiful colour and those silver flecks just make it something different. Also I was expecting removal to be painful but I was pleasantly surprised that it just came straight off. Definitely my fave polish of the collection so far!

[edit] OK did anyone else laugh immaturely at the link for this post ... no? It's just me with the humour of a 13 year old then!

Wednesday, February 22, 2012

... 7 days - 7 ways! Day 3 ...

7 days - 7 ways!
Day 3 - Stripes
Rimmel I ♥ Lasting Finish - 239 Your Majesty
Good ol' stripes! Way to bring something funky to the party.  Firstly - don't be running for the hills just yet ... this idea is seriously easy and is honestly the best way to cover up chips if you can't be bothered to find the polish remover!
** Seriously Simple Steps **
1 - Find 2 contrasting polishes, some scissors and some regular stationery tape [yes the clear stuff!]

2 - If your nails are already painted then skip ahead to step 5!

3 - Paint your nails fully in 1 of the polishes. Do a few coats for good 

4 - Wait for polish to fully dry

5 - When it's dry grab your scissors and sticky tape and cut a few lines off. The thickness is totally up to you.

6 - Place the sticky on your nail where you want it [do not cover up any chips or wear and tear that you want to cover up]

7 - Repeat steps 5 and 6 until you are happy with how your nail is covered

8 - Make sure your tape is fully pressed down on all nails [double check the edges]

9 - Grab your 2nd colour and paint your nails as normal - yes right over the top of the tape

10 - Repeat step 9 if you need a second coat of the top layer

11 - Pull all the sticky tape off [do this sooner rather than later or you run the risk of pulling off the base colour aswell]

12 - Add a top coat so it feels smooth

13 - Sit back and admire your handy work!!

If you didn't get all that and need pictures then click this link to a tutorial by Jane at Nailside - she shows you want I'm trying to explain in pictures rather than just words! [Obviously I've just gone for bold stripes rather than the look she's showing but you get the idea!]

Rimmel polishes are available at Big W, Priceline, Kmart, Target plus many others I'm sure.

Thursday, November 24, 2011

... Silver Holo Comparisons ...

I've got a bit of a different post today. I was involved in a conversation regarding basecoats for holographic polishes and which is best.  I've only got 2 out of the many that are out there but hey - gotta start somewhere!
So here is NfuOh Aqua Base and the LA Colors Hardener/Strengthener that I was lucky enough to receive in a swap recently and that I've heard it been raved about being awesome under holos.

I've dug out my stash of silver holos to compare it against as I'm sure all polishes have different formulas to compare. Hopefully this way we'll be able to see some difference!
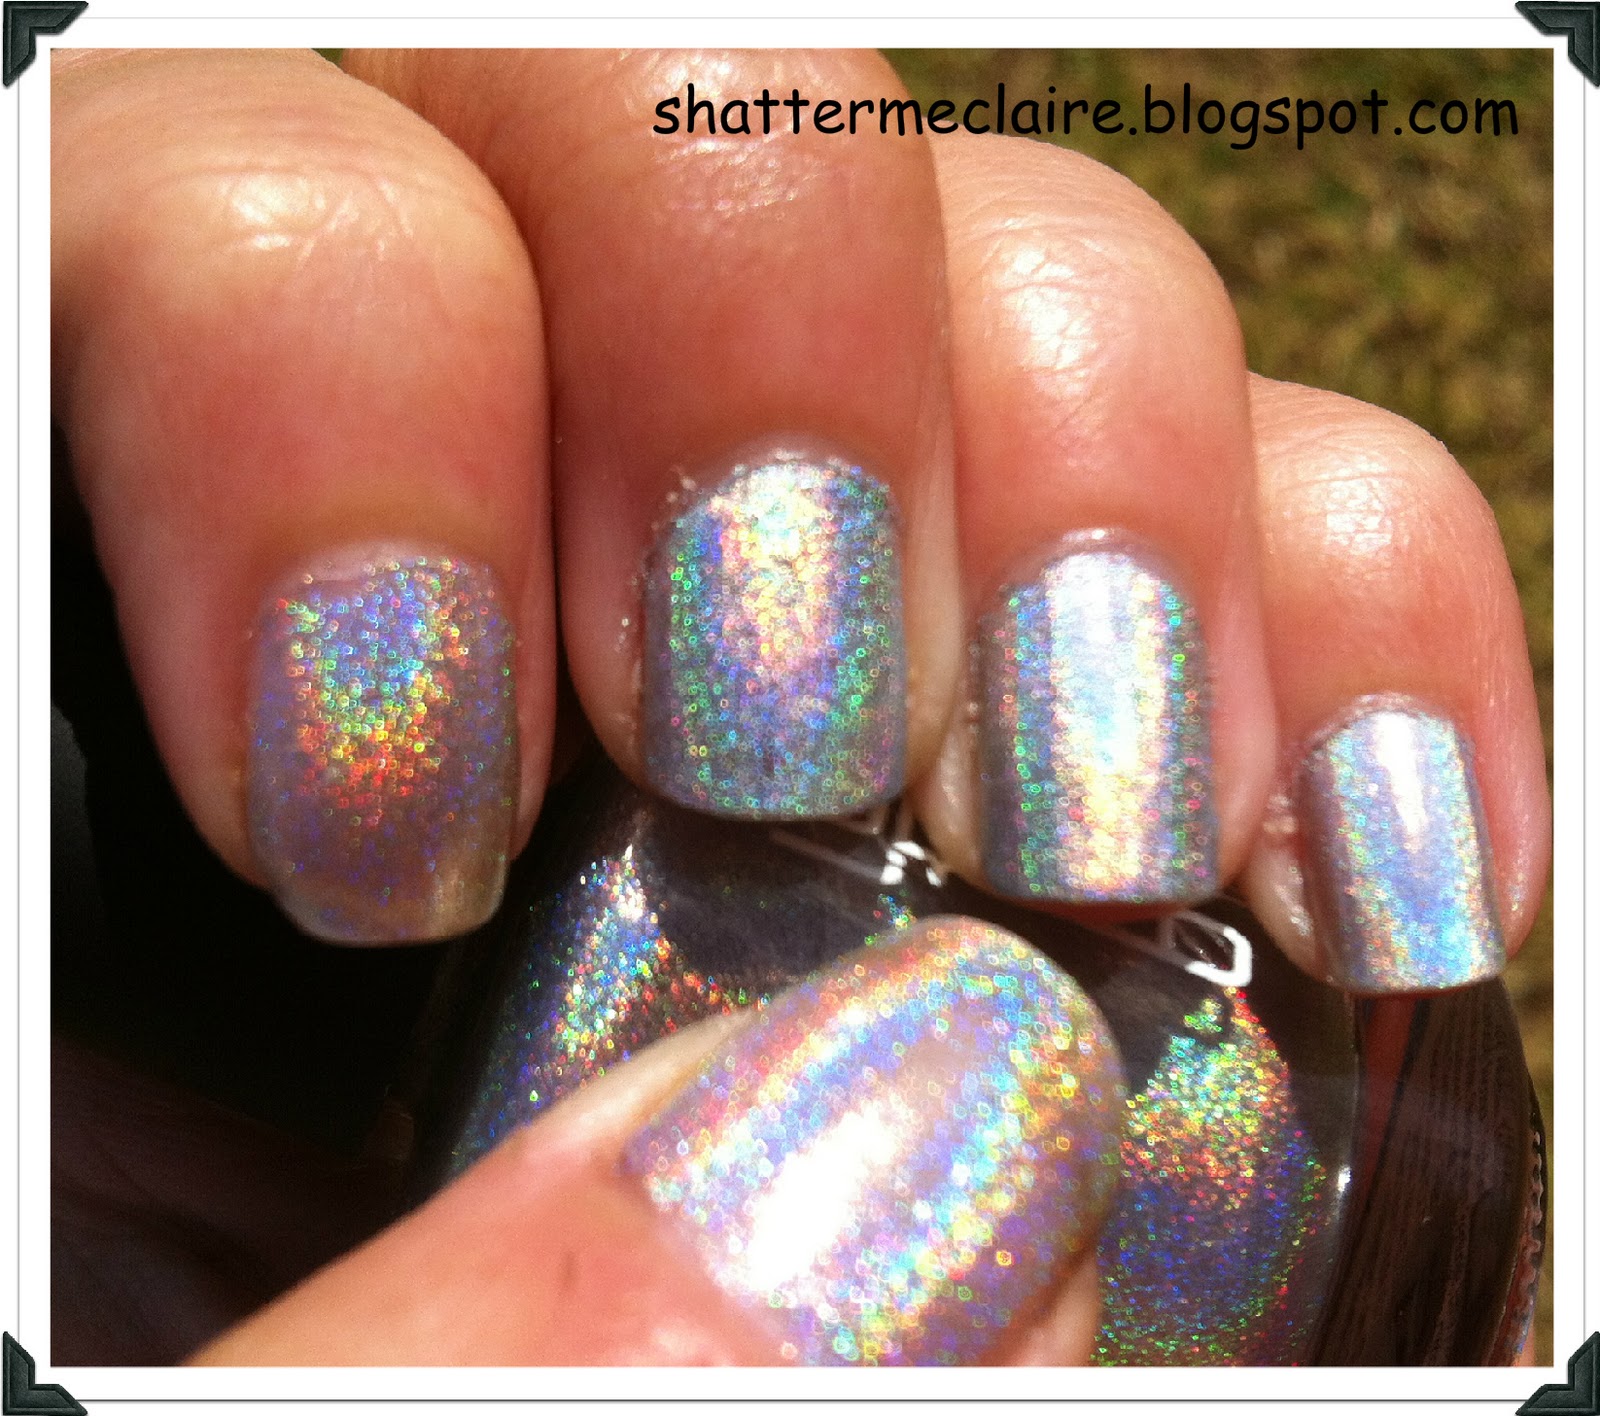
To play with today I have NfuOh 61,  China Glaze OMG, Glitter Gal Silver, Ozotic 509 and my latest beauty Make Up Store Greta. If you click to make this photo larger you'll notice the Ozotic and Glitter Gal are more prone to holo without direct sunlight shining on the bottles. Oooh pretty!

All photos are of 3 coats of each colour with no colour underneath. Just the bases. I'll start with the Aqua Base ... and apologise for the gross thumb if it appears in any shots [I got into a fight with the garden!]

And cos I'm silly and didn't photo those silver polishes in the correct order here we go again so you know
Thumb - Glitter Gal, then left to right Ozotic, NfuOh, Make Up Store, China Glaze
Indoors under artificial light
Outdoors in natural sunlight

Now for the LA Colors Hardener/Strengthener. Again the order of polishes are Thumb - Glitter Gal, then left to right Ozotic, NfuOh, Make Up Store, China Glaze

Outdoors in natural sunlight
** Final Verdict **
You can see for yourself in the photos if you decide there is any difference between bases. Up close - honestly I didn't notice any difference on the polishes except with NfuOh using the LA Colors base which got a bit of a powdery look and feel to it.

In regards to the actual polishes the Ozotic and Glitter Gal show up the holo fantastically even in little light but they are super sheer compared to the other 3. They are also 100% smooth when applied which the other 3 don't seem to have.

The NfuOh and Make Up Store polishes are definitely more silver than the other 3 and under sunlight show the holo in all it's glory but both polishes are frankly a pain in the butt to work with regardless of which of these 2 bases you choose. They both show bald spots, they both don't like having too much or too little polish on your brush and they both like to make life difficult. The results are definitely worth it but the effort required means that I definitely won't be using it frequently. They also don't like to be super holo unless you are out in full sun.

And the China Glaze just sits right between these 2 groups. It's not sheer and not picky but it's definitely lovable in it's own right.

Hopefully tomorrow the sun will be out again and I'll give you the same polishes with a regular base coat so you can see if these base coats make any difference whatsoever.
Powered By Blogger

Total Pageviews